Pricing schedule
Build pricing schedules, line items, and markups—then render a client-ready estimate.
Purpose
The Pricing area holds Pricing Schedules: your source of truth for costs. You build sections and line items (direct/indirect costs, allowances, markups), then use Render Estimate when the schedule is ready to produce a client-facing estimate.
Who this is for
- Estimators / QS: building sell price from cost build-ups.
- Admins: owning markup rules, workbooks, and import/export.
Prerequisites
- A project with uploaded documents and extracted components / BOQ data where your workflow feeds pricing. See Document upload and Components. If you run vendor RFQs first, complete or skip Request for quote (RFQ) as your process requires.
Steps
1. Open Pricing for the project
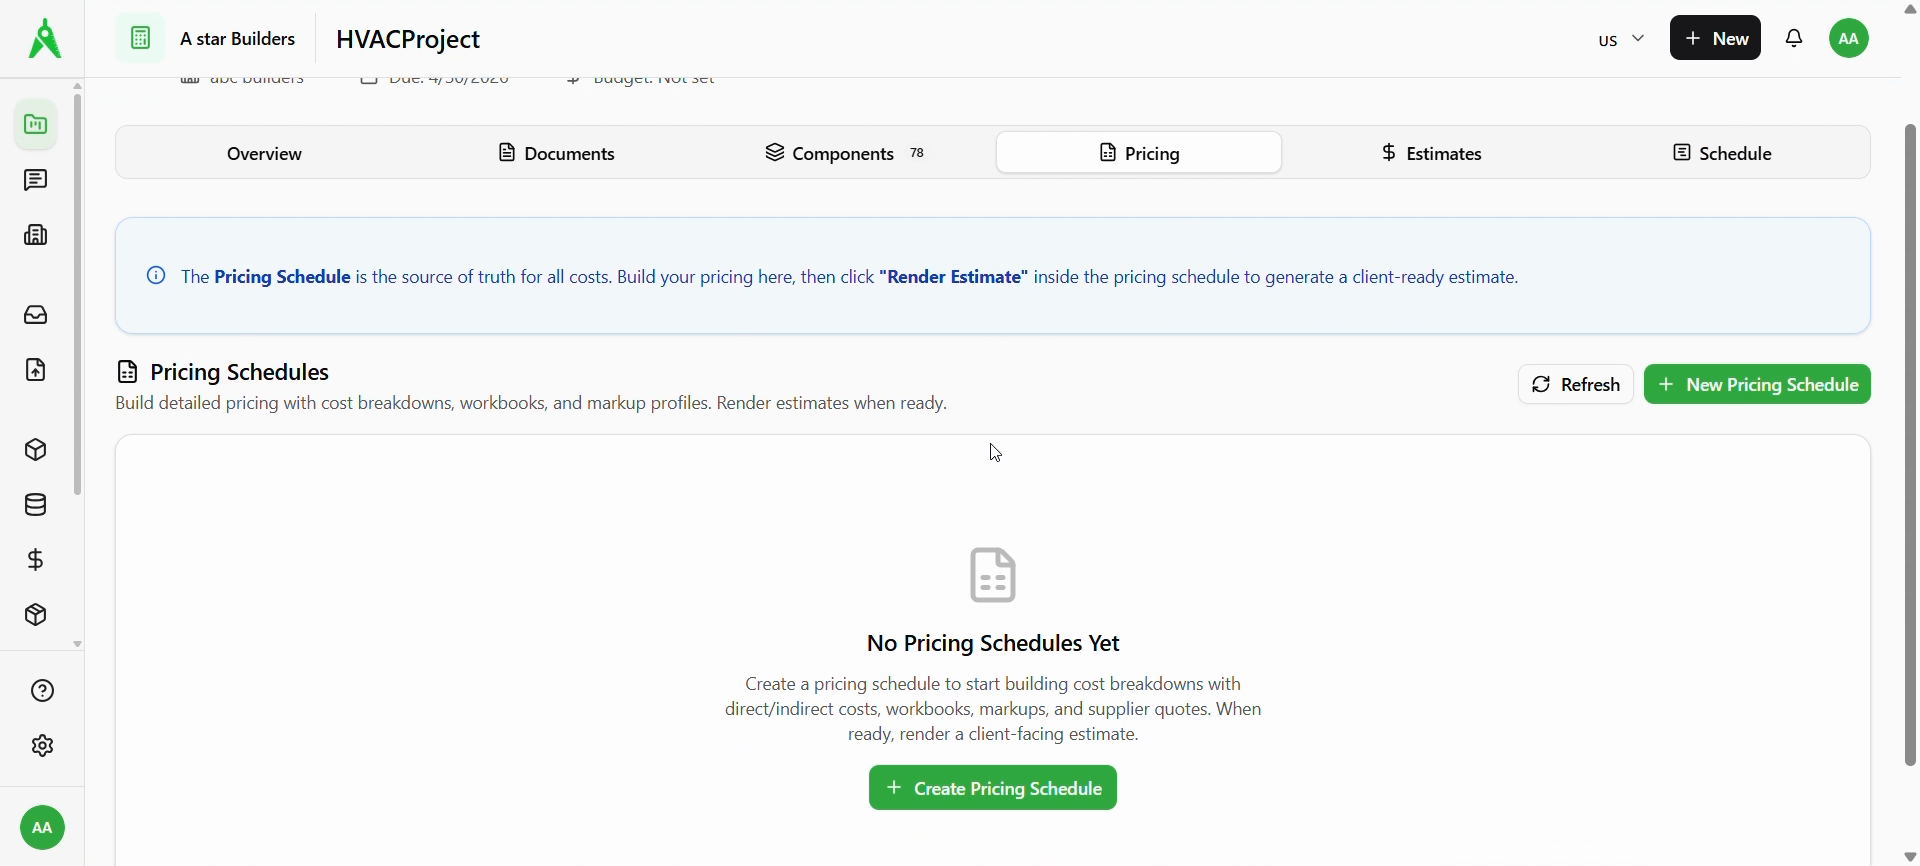
Open your project and select the Pricing tab. The banner explains that the pricing schedule is the source of truth and that you Render Estimate from inside a schedule when ready.
If you have no schedules yet, use + Create Pricing Schedule (or + New Pricing Schedule) to start.
2. Create or open a schedule
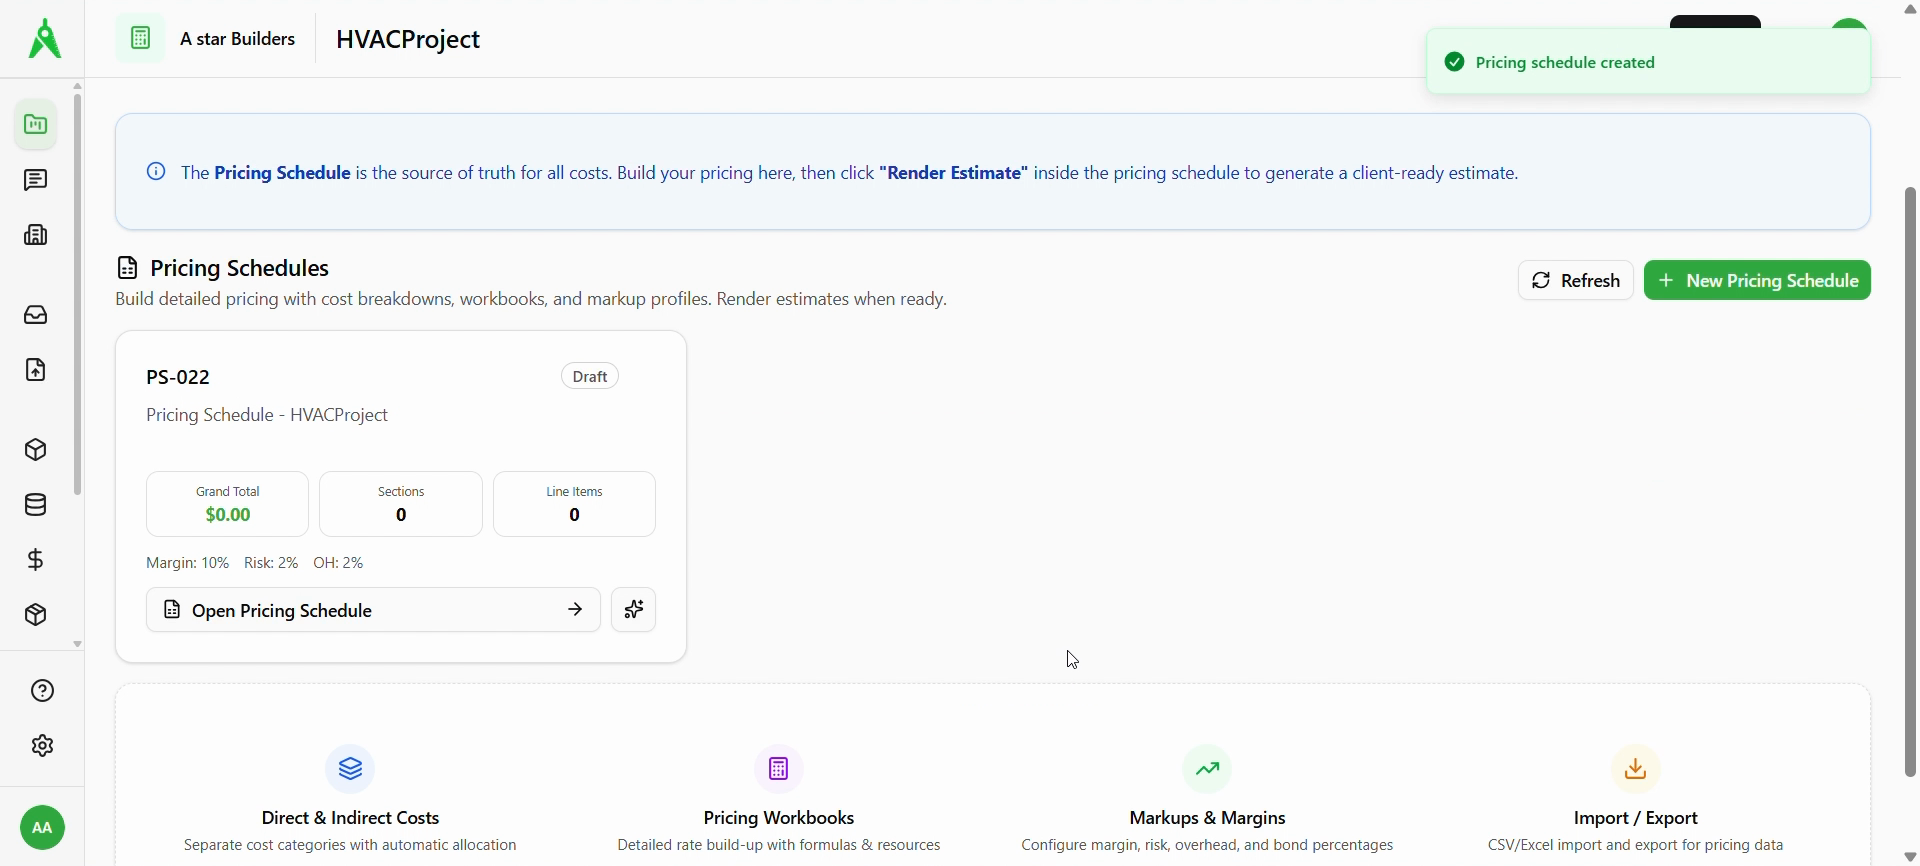
After you create a schedule, it appears as a card (for example PS-022) with status (e.g. Draft), totals, section/line counts, and margin settings. Choose Open Pricing Schedule to edit it.
3. Build sections and lines
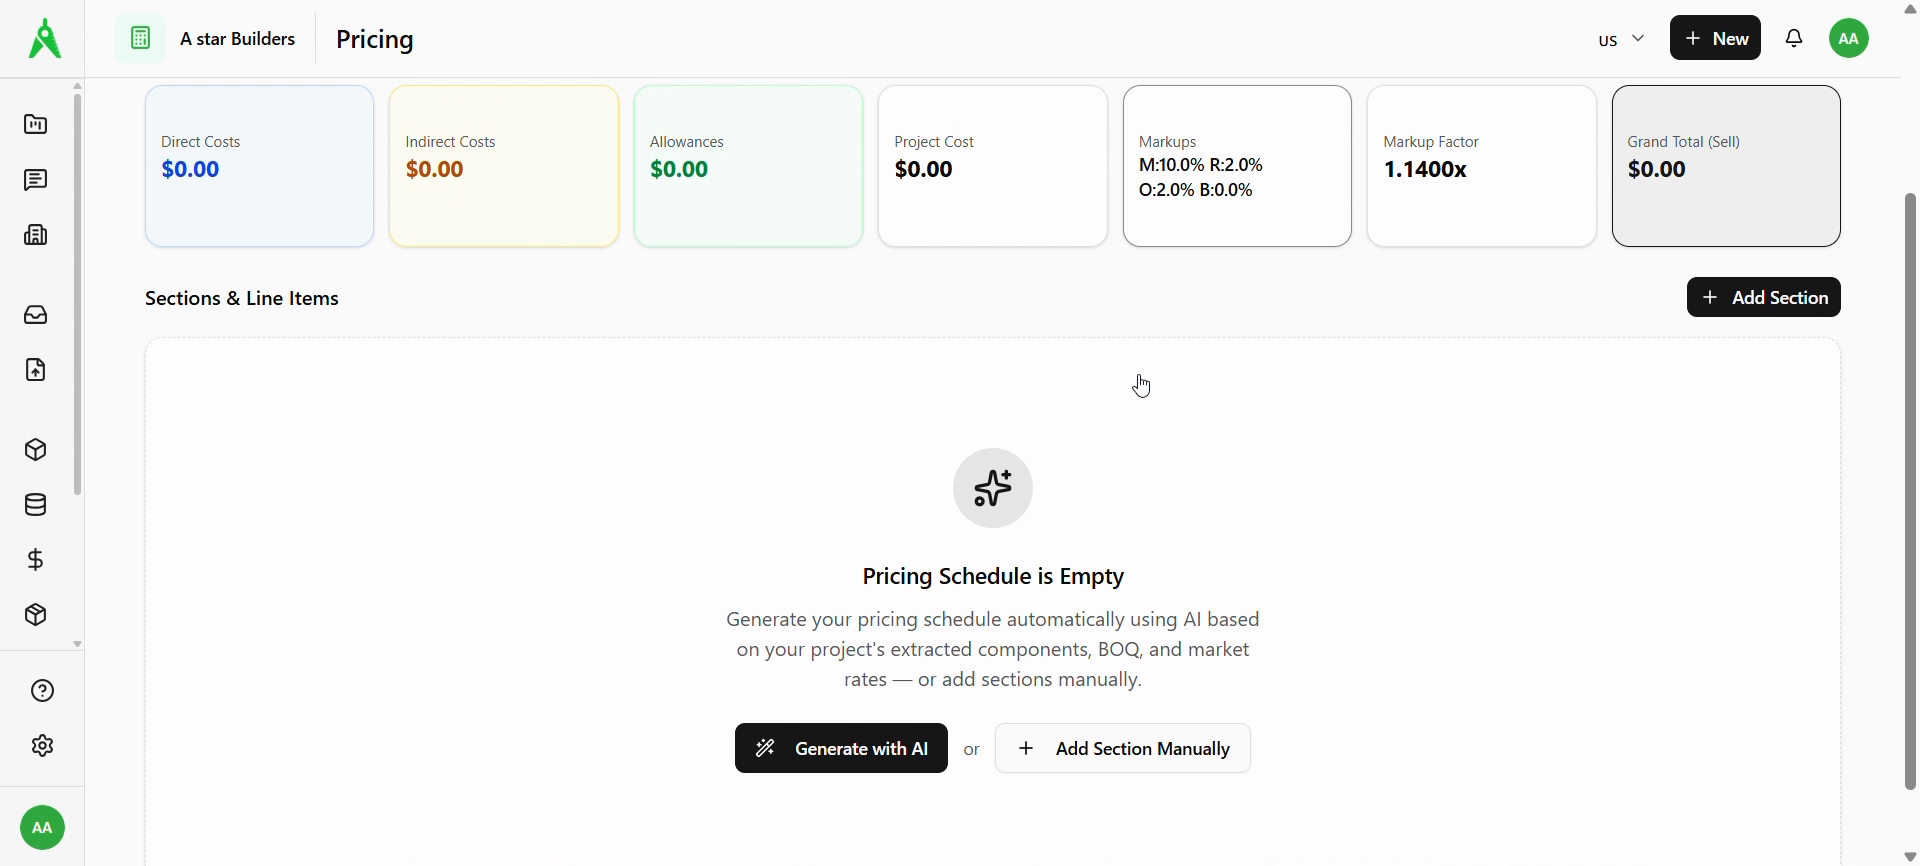
Inside the schedule you’ll see summary cards (Direct Costs, Indirect Costs, Allowances, Project Cost, Markups, Markup Factor, Grand Total (Sell)) and Sections & Line Items.
If the schedule is empty, you can:
- Generate with AI — build from extracted components, BOQ, and market rates (where available), or
- Add Section Manually / + Add Section — structure the schedule yourself.
Use Recalculate after changes. Render Estimate becomes available when the workflow allows a client-ready render.
4. Review populated line items
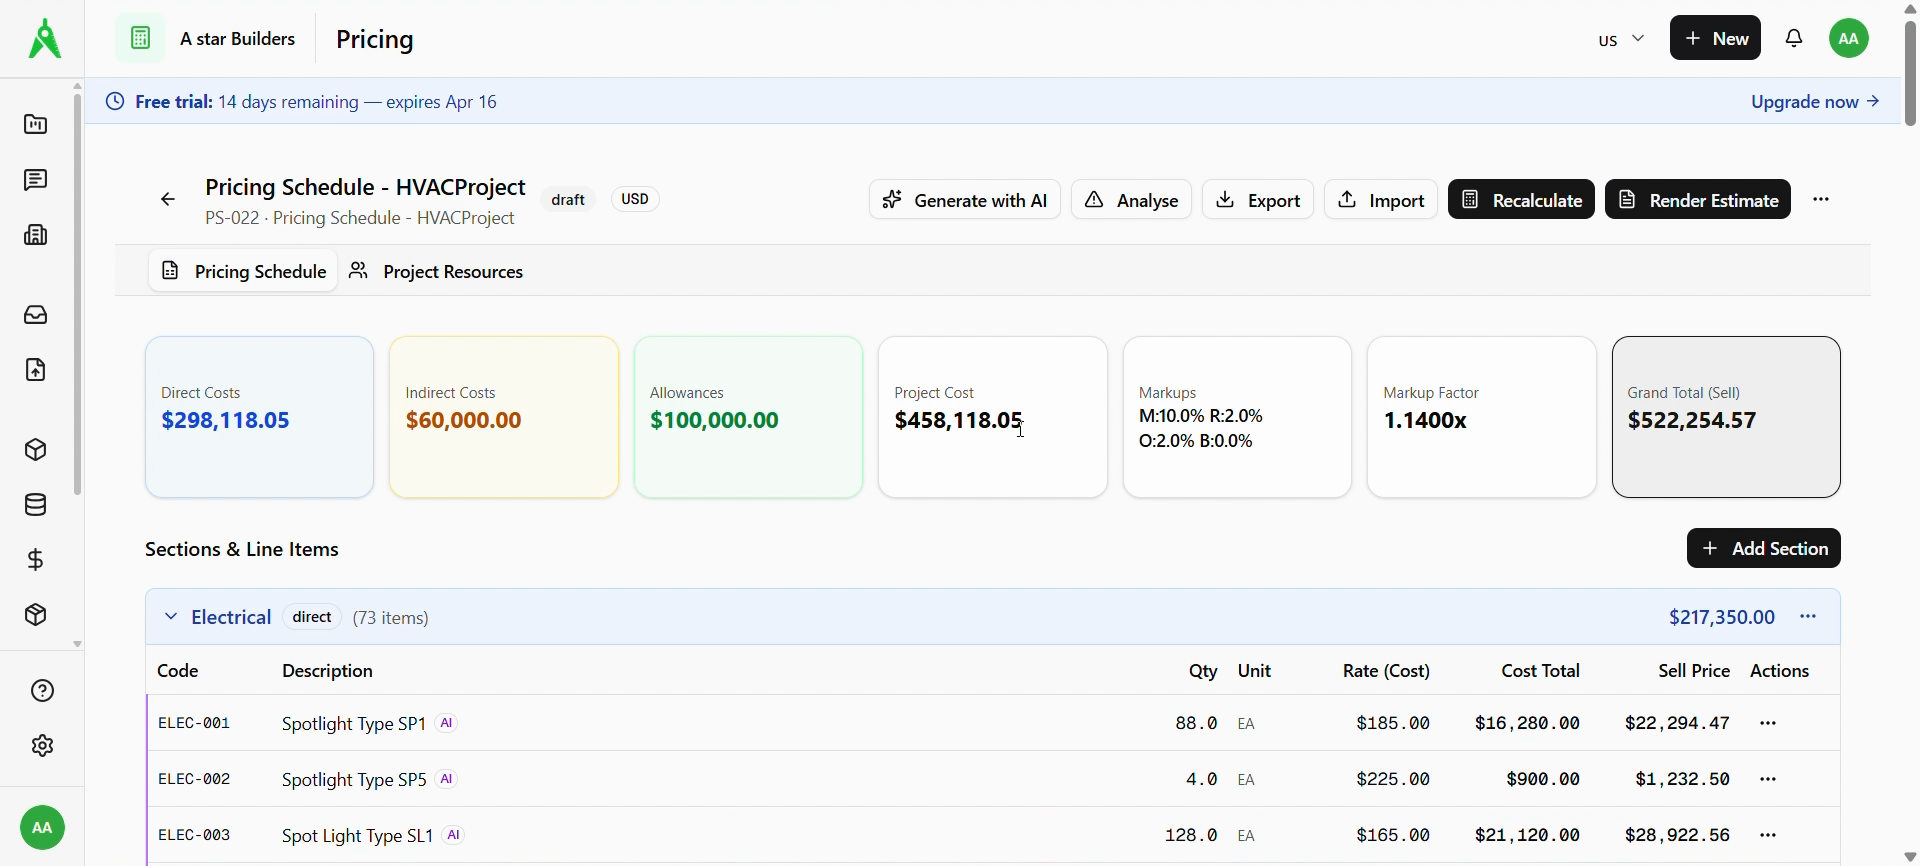
Organize work into sections (for example Electrical) with codes, descriptions, quantities, units, cost rates, cost totals, and sell price. Summary cards at the top stay in sync with the detail.
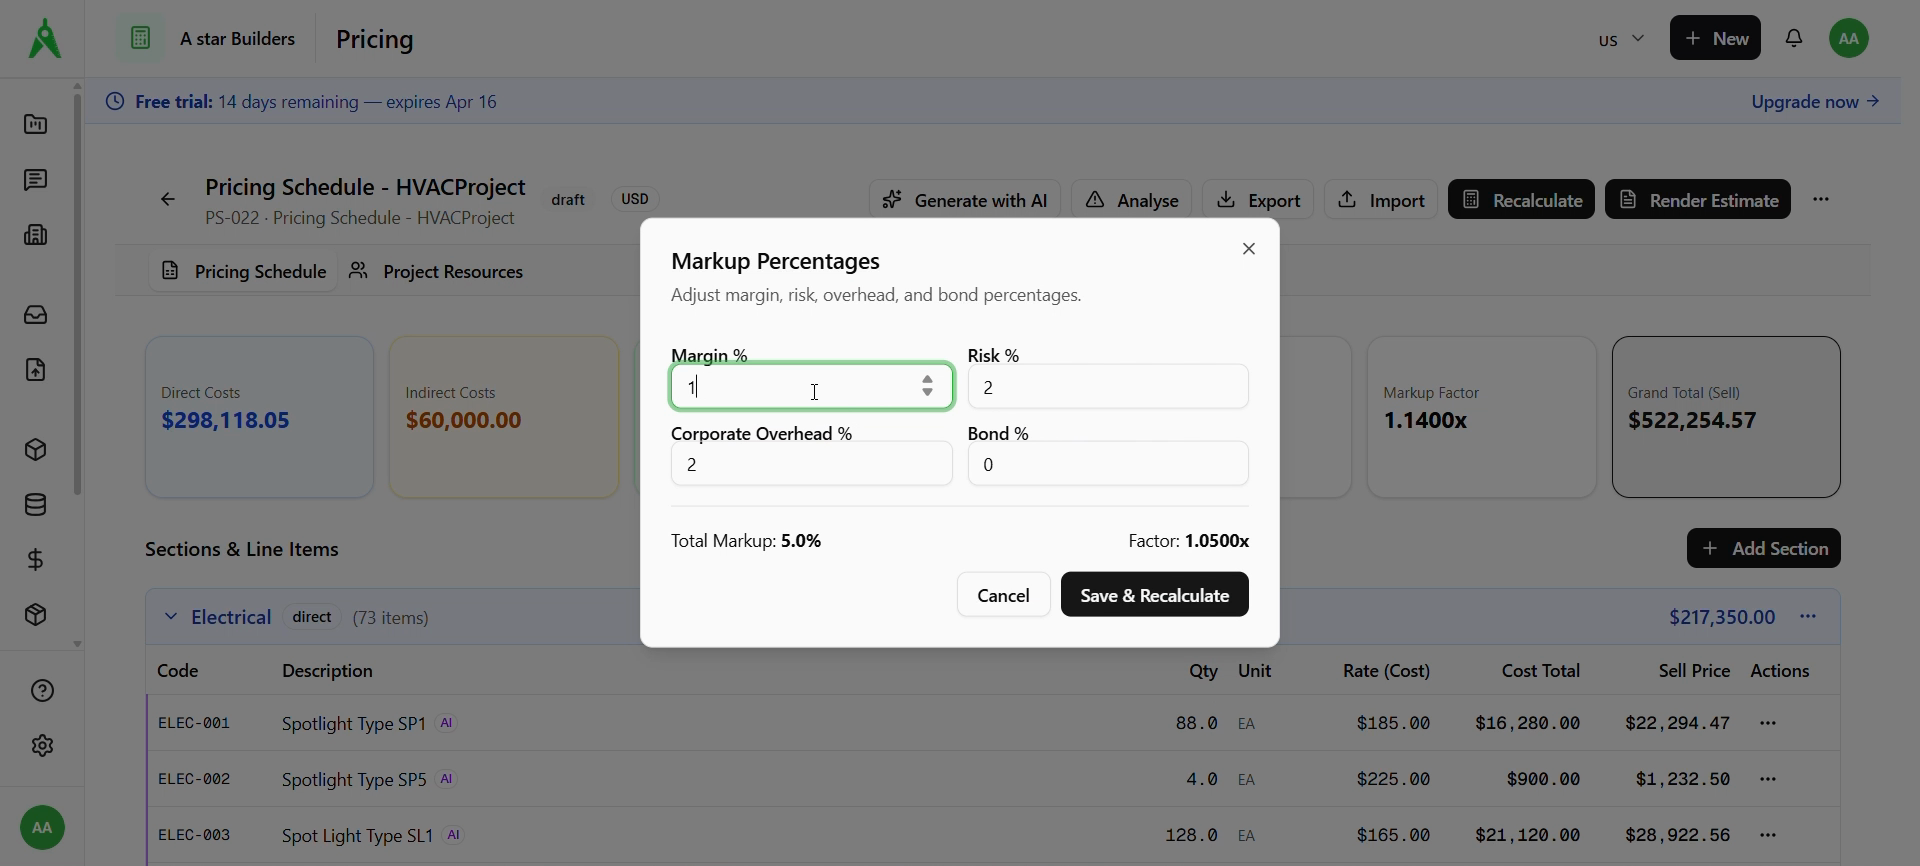
5. Adjust markups
Open markup controls when you need to change Margin, Risk, Corporate Overhead, and Bond percentages. Save to update totals and the markup factor.
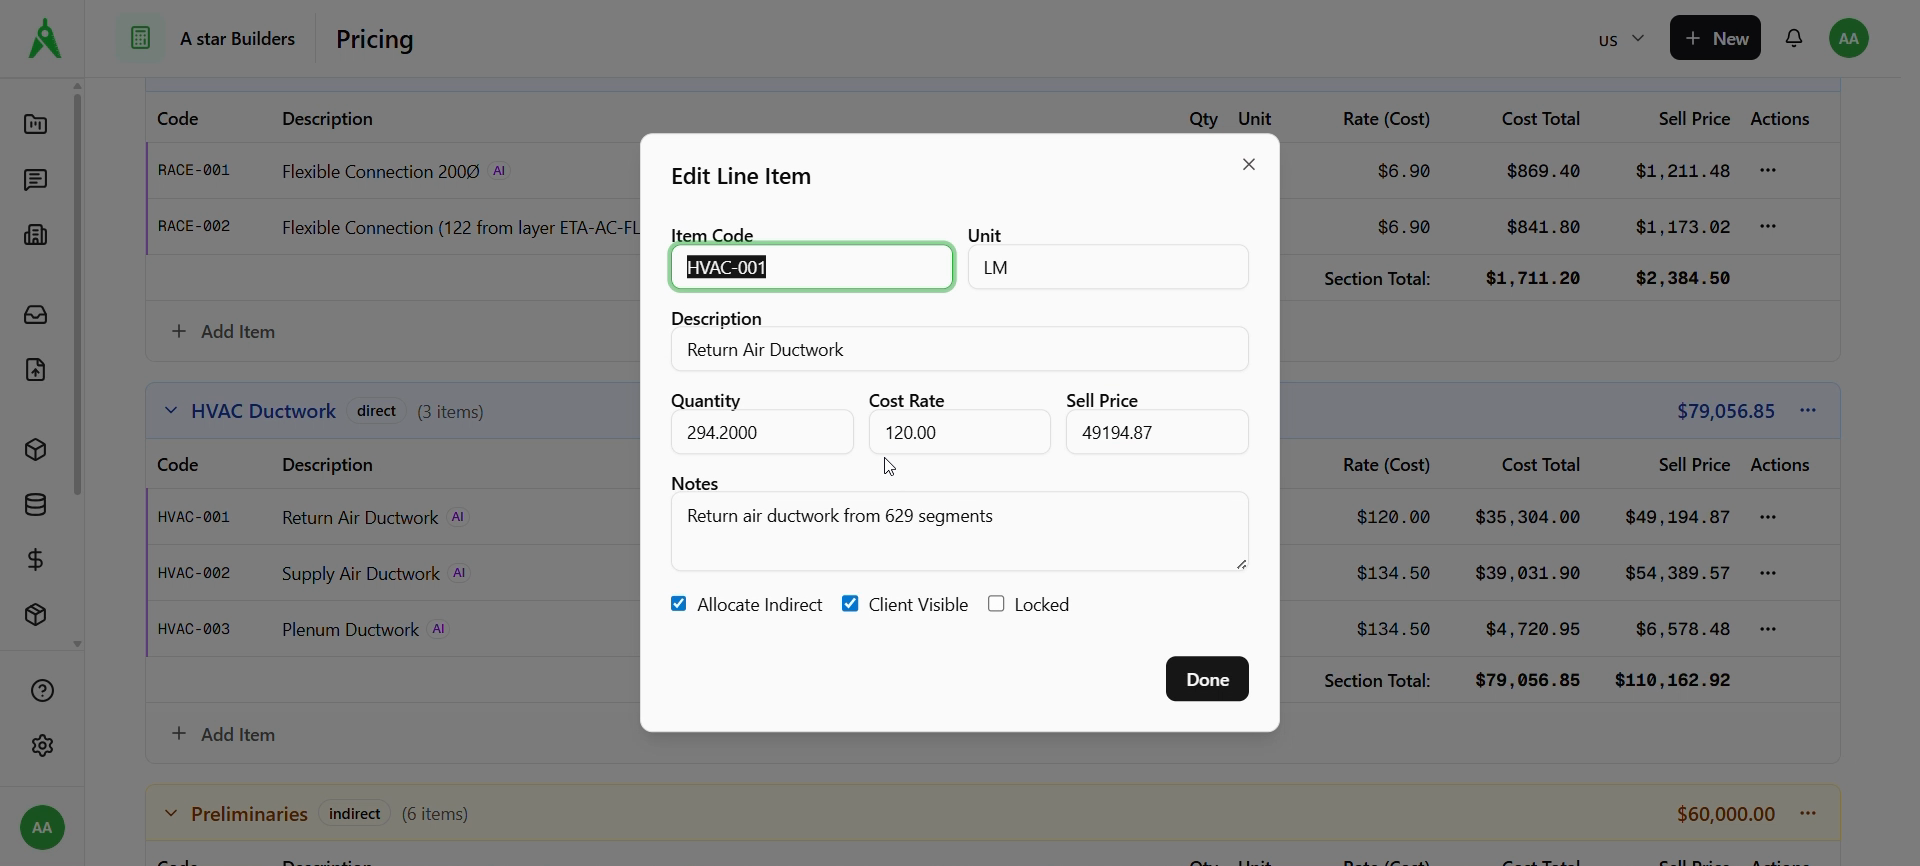
6. Edit a line item (optional)
Use row actions to open Edit Line Item and adjust code, description, quantity, cost rate, sell price, notes, and options such as Allocate Indirect and Client Visible.
Expected result
- Totals on the summary cards match your sections and line items.
- You can Render Estimate (or export) when your organization’s process allows.
Troubleshooting
- Render Estimate disabled: add sections/lines, resolve validation issues, or complete required fields; use Recalculate if totals look stale.
- Prices missing: confirm rates and quantities on each line; check indirect allocation settings.
- Wrong totals after markup: reopen markup settings and use Save & Recalculate.
Related
- Previous: Request for quote (RFQ)
- Next: Estimate