Create project
Create a new project so you can upload documents and run workflows.
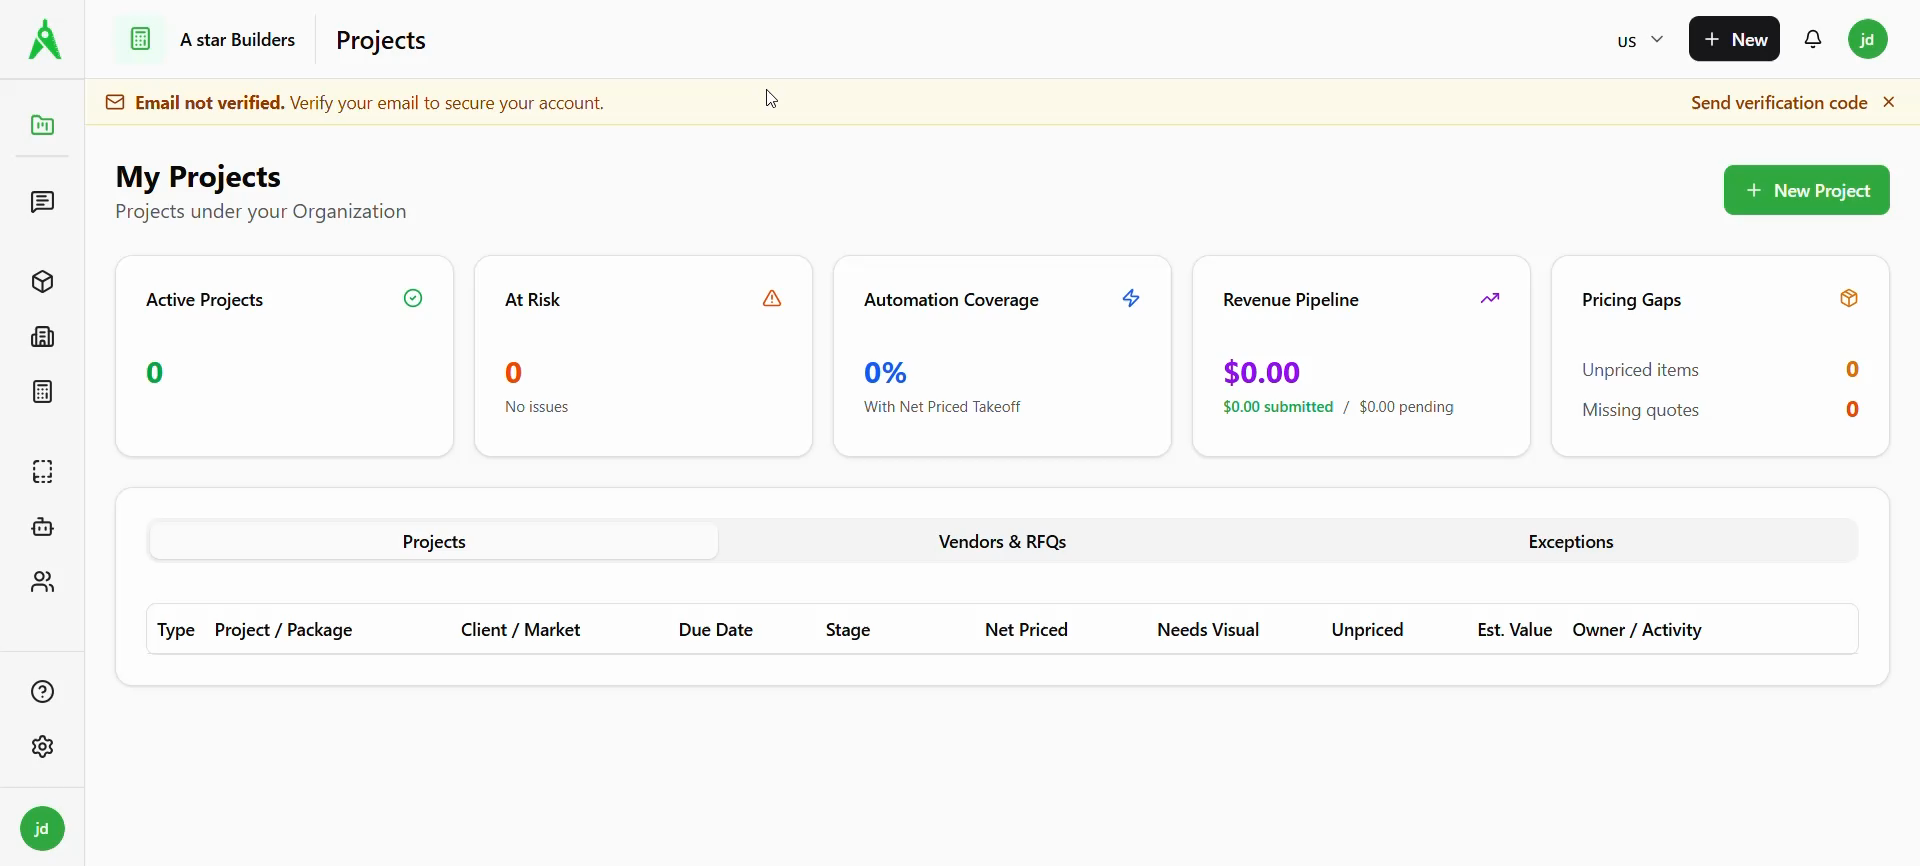
Purpose
Create a project workspace where you’ll upload drawings/documents and run takeoff/estimate workflows.
Who this is for
- Estimators / QS: creating a project to start estimation work.
- Admins: ensuring naming, access, and customer metadata standards are followed.
Prerequisites
- You have permission to create projects.
- You know the project name and (if applicable) the customer/client.
Steps
- Open Projects.
- Select New Project.
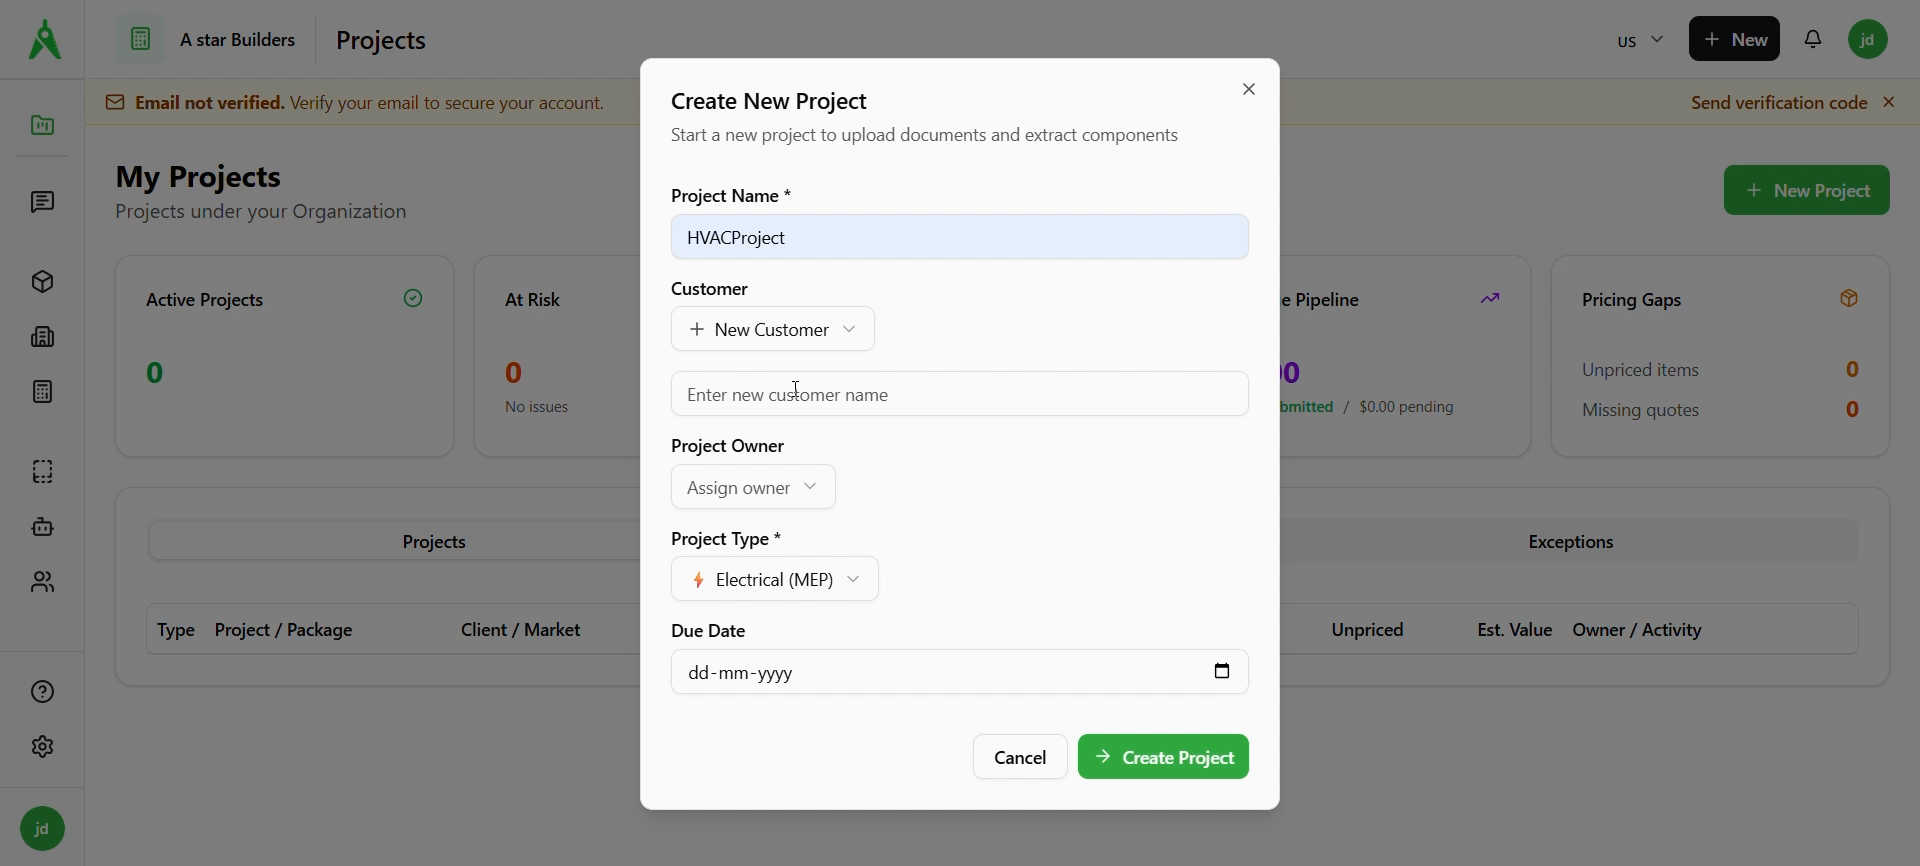
- Fill in the required fields:
- Project Name (required)
- Customer (select an existing customer or choose + New Customer)
- Project Owner (assign if applicable)
- Project Type (e.g. Electrical (MEP))
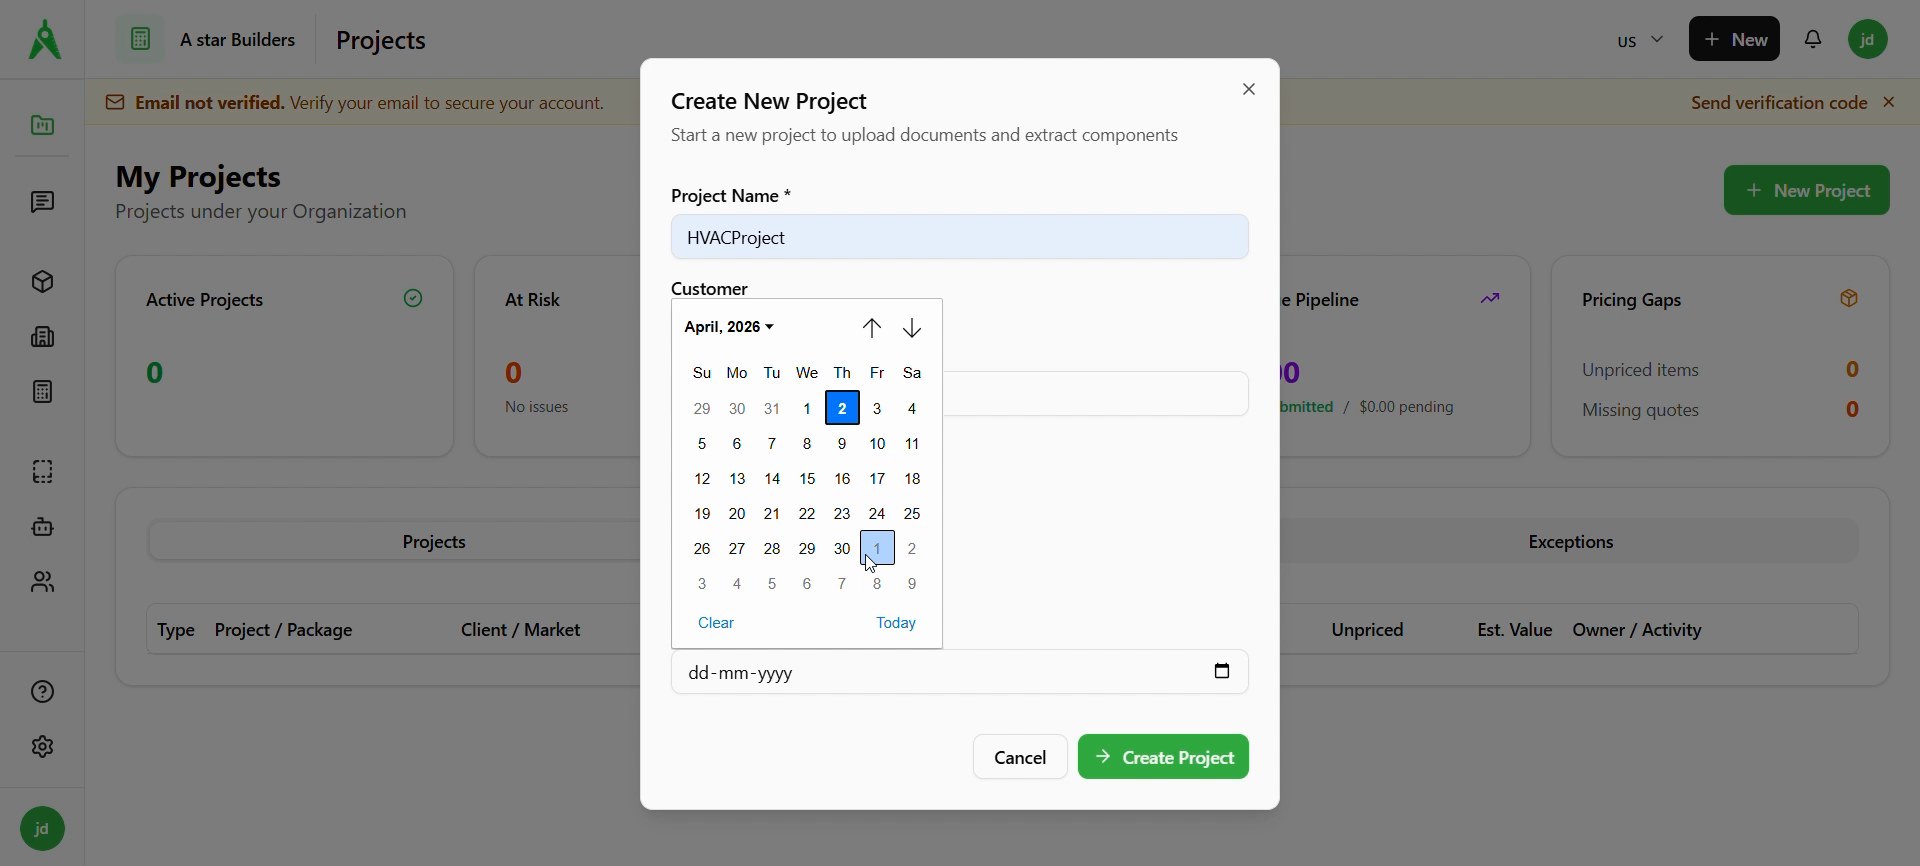
- Due Date (optional)
- Select Create Project.
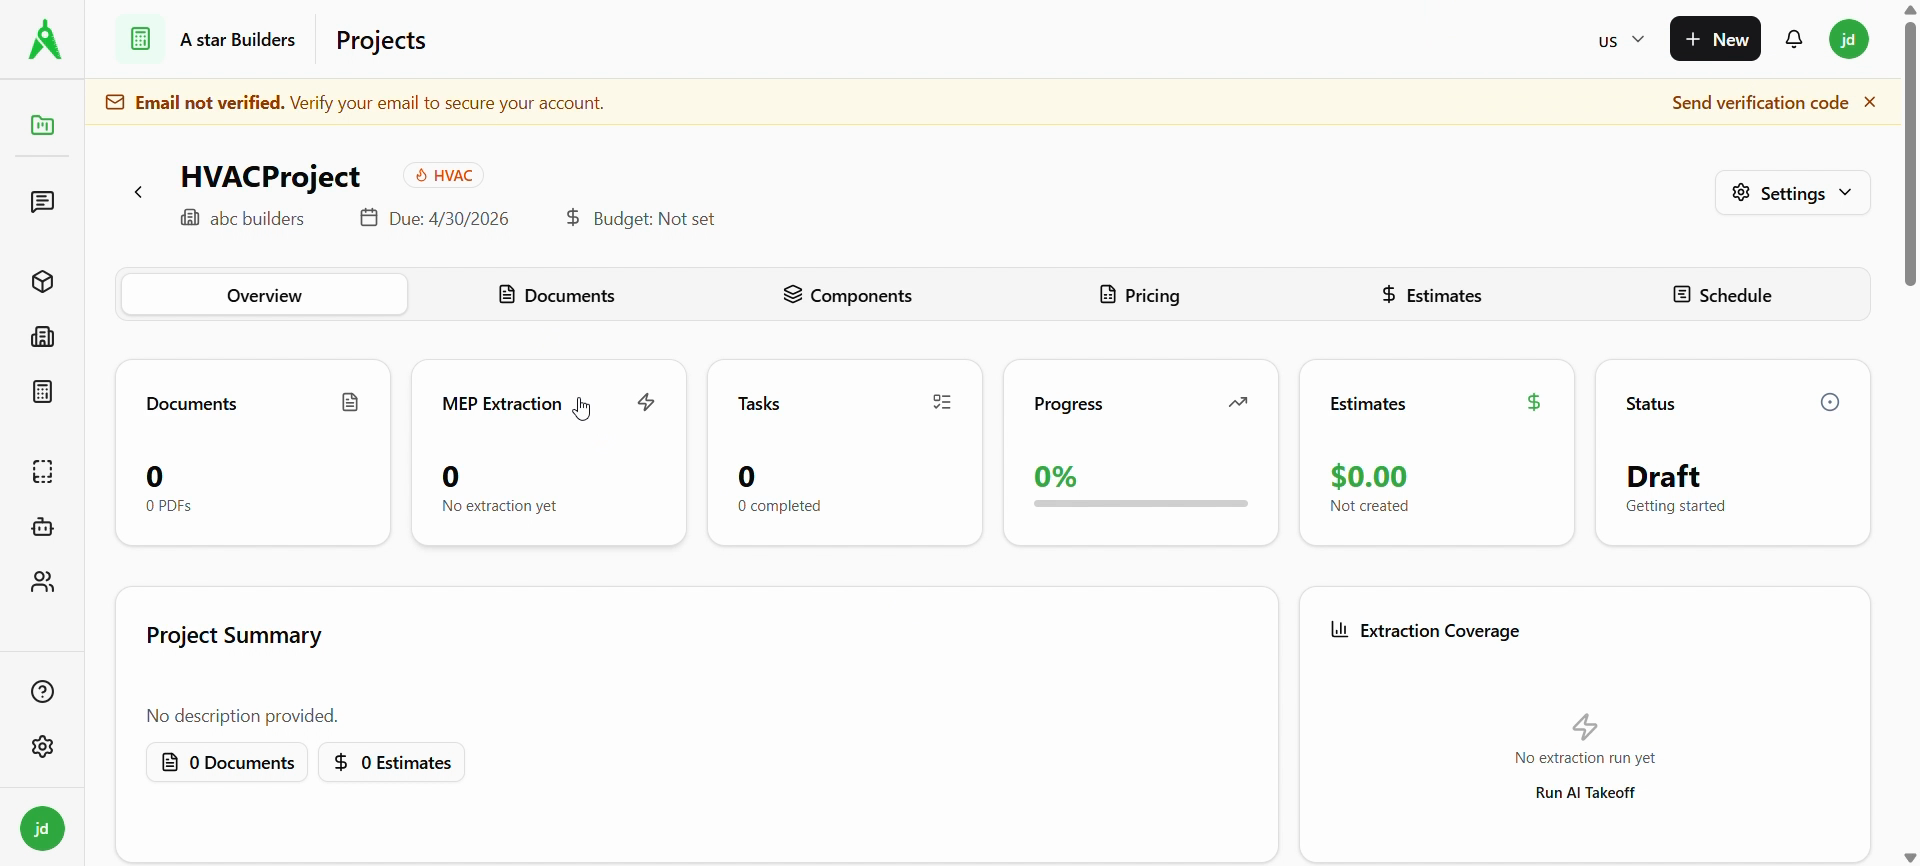
After you create the project
You’ll land on the project page. From here you can:
- open Documents to upload files
- run extraction/takeoff workflows (e.g. MEP Extraction / AI takeoff) when available
- configure vendors/trades if your workflow uses RFQs
Expected result
- A new project exists and can be opened.
- You (and invited teammates) can upload documents into it.
Troubleshooting
- Create button disabled: you may not have the right permission. Ask an admin to update access.
- Project not visible to teammate: confirm they’re in the same workspace and have been granted access.
Related
- Previous: Onboarding
- Next: Document upload
- Guides: Projects