How to Show a Client a Room Before It's Built
The hardest thing to sell is a space that does not exist yet. Whether you are a home builder in a selections meeting or an interior designer pitching a scope, the client has to picture the finished room from lines on a plan and a handful of material samples. Two clients will picture two different rooms, and neither will match the one that gets built.
This guide walks through how to close that gap — how to put a photoreal, walkable room in front of a client before construction starts — and why the obvious tools (photo filters, mood boards, generic 3D) fall short at this stage.
Why the usual options fail at preconstruction
Mood boards are references to someone else's room. They communicate a direction, but they leave the client doing the translation into their own space — and the translation is where expectations drift.
Photo-based AI interior tools restyle a photo you already have. That works for a remodel of an existing room. It does nothing at preconstruction, because there is no finished room to photograph. You cannot restyle a picture that does not exist.
Manual 3D rendering works, but it means a modeller, a rendering pipeline, and days of turnaround per option — too slow and too expensive to run live in a meeting or across every lot.
The approach that works: start from the floor plan
At preconstruction, the one thing you do have is the drawing. So the reliable method is to build the room from the floor plan rather than from a photo:
- Upload the floor plan PDF. A tool like Aginera's AI Room Designer reads the plan and builds a photoreal 3D version of the home — rooms, walls, doors and windows placed where the drawing puts them.
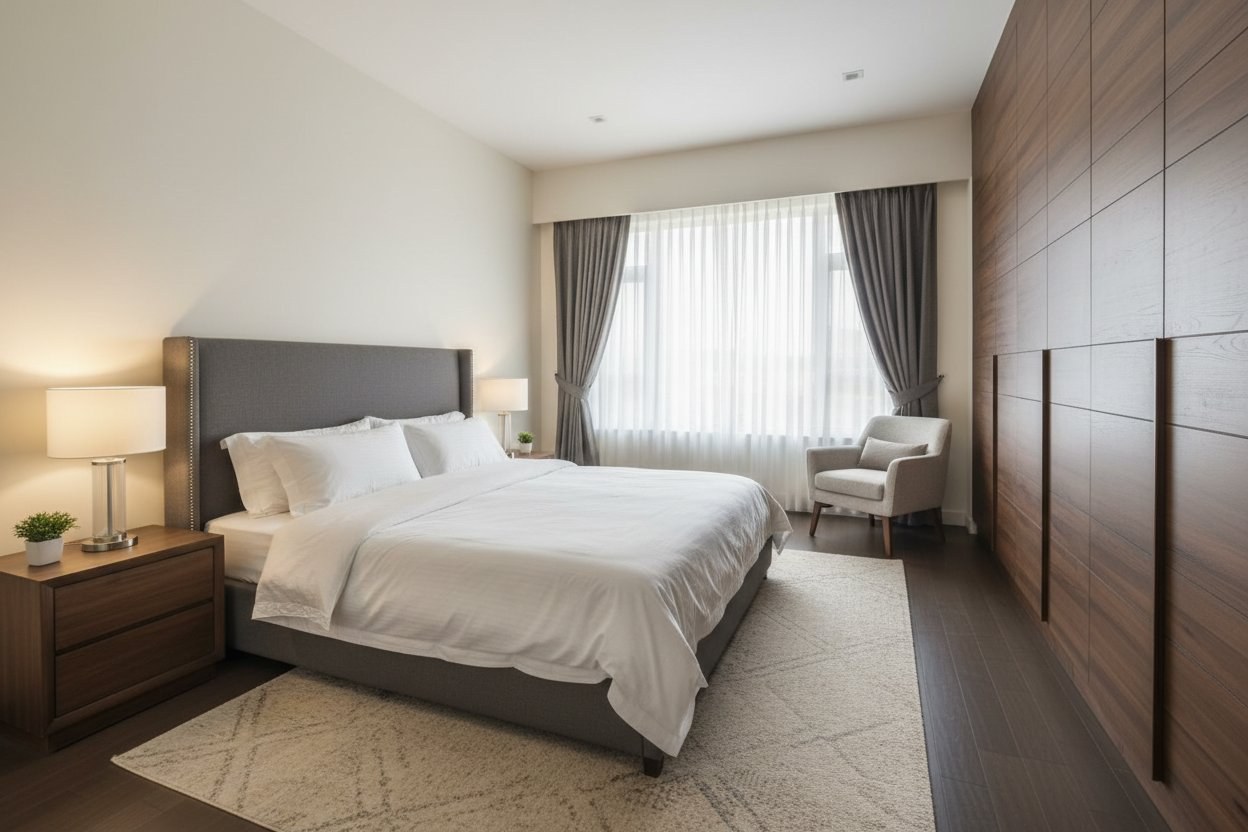
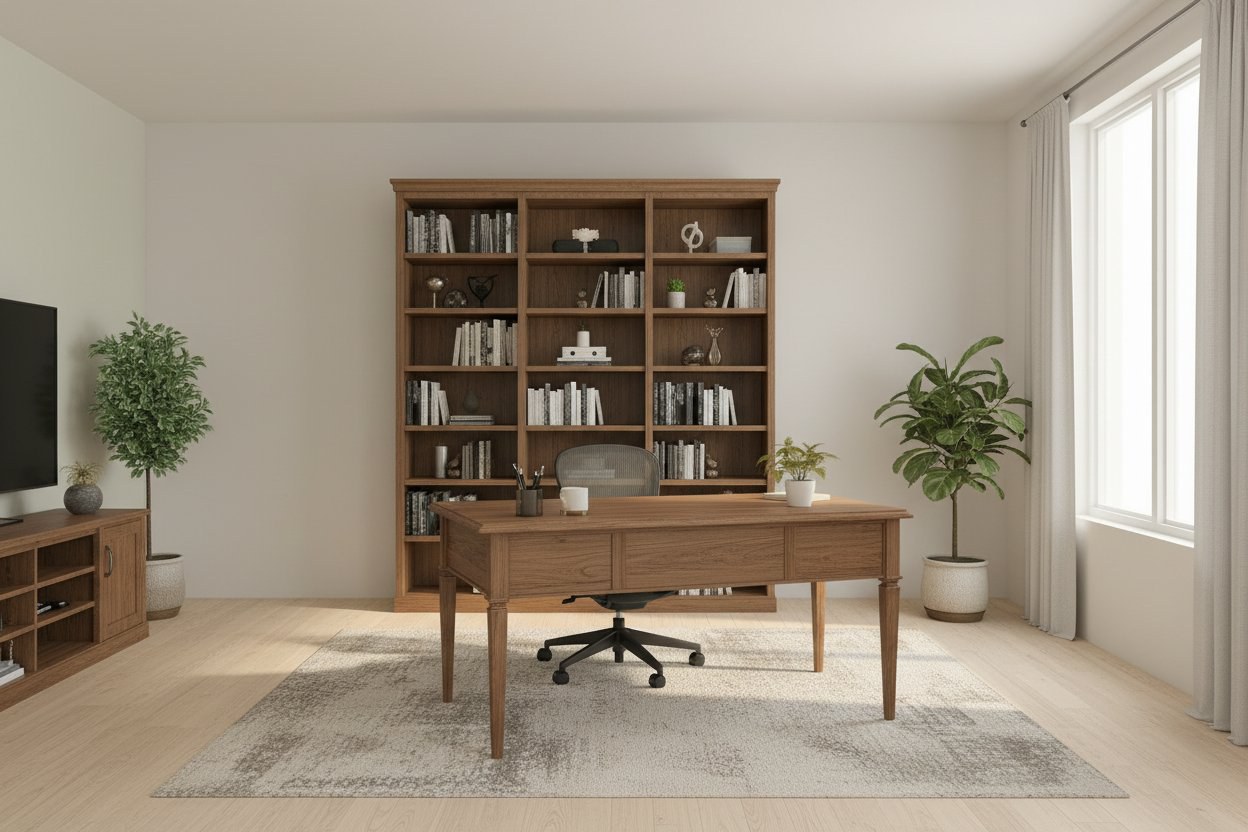
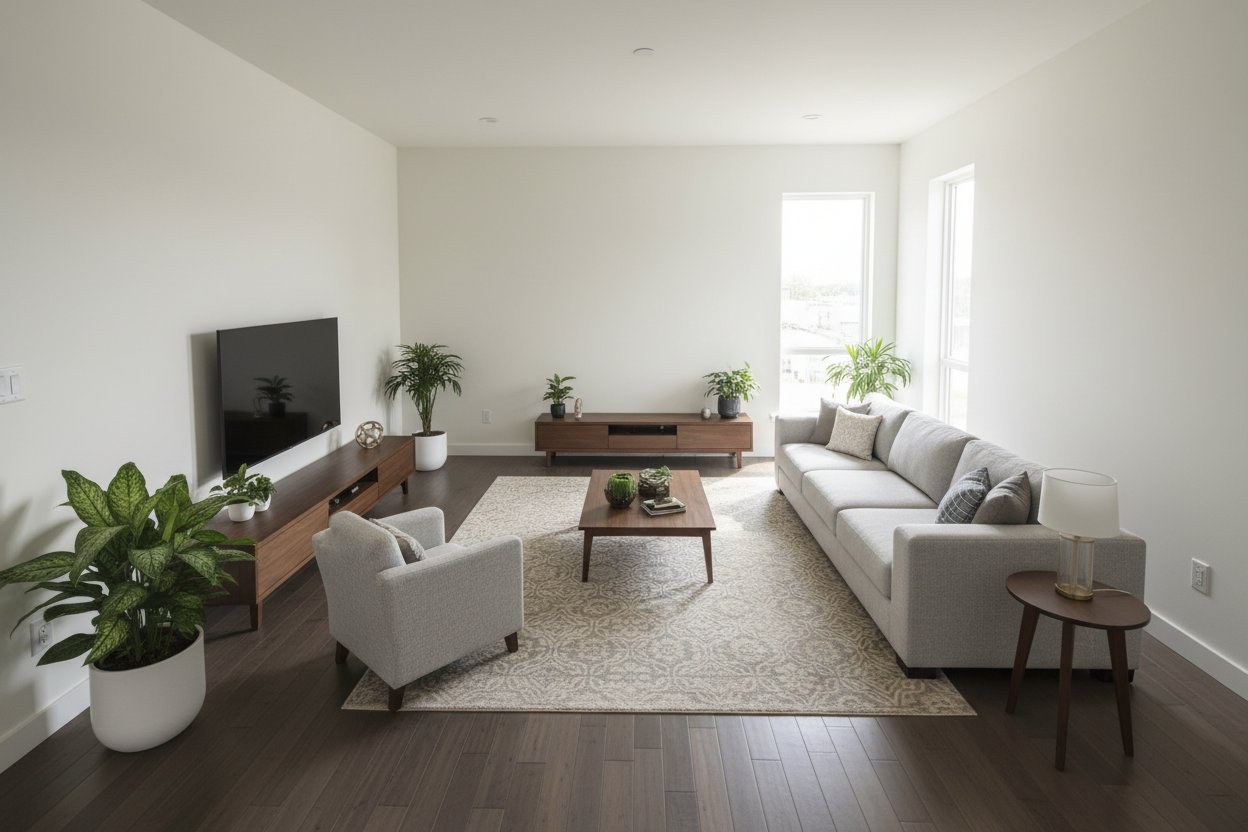
- Pick the room and restyle it. Choose one of 30+ styles or type the client's brief in plain words ("warm oak floors, sage cabinetry, brass fittings, evening light"). A photoreal render comes back in about ten seconds.
- Walk it and refine live. Step inside in a real 360° tour. Once a render is on screen you can edit it — "change the sofa to blue, repaint the walls" — and only that changes.
- Share a client-ready link. Send the version the client approved so the selection is on record.
Because every render is grounded on the plan, the room keeps its true size, shape and window light. The client is looking at their room, not a lookalike that happens to share a style. That is the difference between "imagine this" and "here it is."
Why "grounded on the plan" matters more than it sounds
A render that ignores the plan can look beautiful and still mislead: wrong proportions, windows in the wrong place, a sofa that would never fit. When the client later stands in the real room, the mismatch reads as a broken promise — and often as a change order.
Grounding the render on the drawing avoids that. A 140 sq ft study renders as 140 sq ft. Daylight falls where the windows actually are. A restyle can change materials, colour, furniture and light, but it cannot move a wall — which is exactly what keeps every version the same real space. (See photo-based vs floor-plan AI room design for the full comparison.)
Who this is for
- Home builders use it to lock buyer finish selections before framing — see AI interior design for home builders.
- Interior designers use it to win scope on a render of the client's actual room instead of a mood board — see AI interior design software for designers.
- Architects and developers use it to present a scheme the way it will feel to stand in — see preconstruction visualization.
Try it on a real plan
You can test the whole flow for free — five renders, no signup — in the AI Room Designer. Start from one of the sample homes, or upload your own floor plan and show a client their room before it is built.